The Trolltunga hike is one of the absolute highlights in Norway. But how do you actually get to the Trolls Tongue and where is the best Trolltunga parking lot? These are exactly the questions we asked ourselves during our 2 week road trip through Norway. Our answers we reveal to you in this article!
After we wanted to conquer the Trolltunga hike actually in 2 days, we have decided for various reasons to make the hike only in one day. So we did not have to lug the heavy equipment including tent, but we also gave up the opportunity to experience a sunset or sunrise on the Trolls Tongue in romantic solitude.
As we were to find out later, we would probably not really have been alone up there, even if we had spent the night.
Beim Klick wird Youtube.com aufgerufen (Datenschutzerklärung) | By clicking, Youtube.com opens (Privacy)
Accomodation in Odda
We recommend you to spend 1-2 nights in Odda, depending on what you want to do there. Besides the hike to Trolltunga, you can also do the hike to Buarbreen. In Odda you have two options. On the one hand you can stay at the campsite, on the other hand in a hotel. We have selected the two best options for you.
Trolltunga Camping in Odda

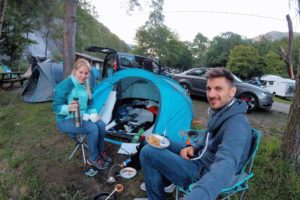
We spent the night in Odda at the local campsite (Odda Camping*), which is also not far from the city center. The campsite is usually very crowded by numerous Trolltunga tourists, but is located very picturesque directly on the lake Sandvinvatnet.
You should be here early to get a free place. We were able to get one of the last tent sites with lake view. The campsite also rents cabins and small rooms.
Cozy Apartments to Relax
If you want to relax after the strenuous hikes, we can recommend The Blue House*. The apartments are located in a 100 year old and elaborately restored house. Here you come in and feel like at home. The small apartments are equipped with everything you need, so you can take care of yourself.
Facts about the Trolltunga Hike
Trolltunga Hike from P2 Skjeggedal:
Length: 28 km (round trip)
Round trip: No
Duration: 8-12 hours (round trip)
Difficulty: difficult
Season: June-August (October-May only with a guide)
Trolltunga Hike from P3 Mågelitopp:
Length: 20 km (round trip)
Circular route: No
Duration: 7-10 hours (there and back)
Difficulty: medium-difficult
Season: June-August (October-May only with a guide)
Guided Trolltunga Hike
If you want to do a guided Trolltunga hike you can book a guide here*.
How to get to Trolltunga?
After an overnight stay at the Odda campsite* (too crowded, too small, too impersonal….BUT perfectly located for the start of the hike) we set off at 6 am by car to the Trolltunga parking lot in Skjeggedal. We had also considered taking the shuttle bus, which would have also left directly from the campground.
We drove with our car directly to the top parking lot, because the prices for the shuttle buses are also quite expensive. If you drive from Odda there and back you don’t save that much money and you are independent on the departure times of the buses.
Another possibility is not to drive all the way to Skjeggedal, but to park directly at the beginning of the private road (a few km before Skjeggedal) at the Tyssedal parking lot. Here you are dependent on the bus to get further. Or you try to hitchhike like some people do. If you continue to Skjeggedal or Mågelitopp parking you have to pay a fee of 200 NOK in addition to the parking fee since 01.07.2021. You pay the fee at the Skjeggedal parking lot.
Trolltunga Hike Tips: 8 km Saved by a “New” Road
When we did the hike to Trolltunga the parking lot Mågelitopp was just opened. On the approach to Skjeggedal we saw a billboard advertising a new parking lot and a new serpentine road, which saves 4 km (each way) and allows you to park directly on top of the mountain.
In fact, you now only have the option of walking the old route through the forest, but apparently no one does that anymore. Or you can walk up the new serpentine road. That is free of charge. And it looks like most of the hikers do it! By the way, the old funicular – with which many people used to shorten the route – has been cut through by this new serpentine road and can now no longer be walked.
So we decided to save a total of 8 km of road and pay the 500 NOK (now 600 NOK + 200 NOK toll) charged to drive up the serpentine road and park at the top in one of the 30 parking spaces.
Meanwhile, parking at the top parking lot must be reserved in advance. There is also a shuttle bus that can take you from P2 to P3, so you can also save yourself the 8 km if you don’t get a parking spot at Mågelitopp.
Trolltunga Parking
All information about the Trolltunga parking lots can be found on the official site. We have summarized the most important information here.
Trolltunga Parking – P1 Tyssendal
- Number of parking spaces: 220
- Parking fee
- Same day until midnight: 300 NOK
- 2 days until midnight: 500 NOK
- 3 days until midnight: 700 NOK
- Distance to Trolltunga: 38 km
- The road to Tyssendal is too narrow for motorhomes and campervans. The max. allowed car length is 5,2 m
Trolltunga Parking – P2 Skjeggedal
- Number of parking places: 180
- Parking fee
- Same day until midnight: 500 NOK
- 2 days till midnight: 700 NOK
- 3 days until midnight: 900 NOK
- additional toll for the road: 200 NOK
- Distance to Trolltunga: 27 km
Trolltunga Parking – P3 Mågelitopp
- Number of parking places: 30
- Parking fee
- 1 day until midnight: 600 NOK
- 2 days until midnight: 1200 NOK
- additional toll for the road: 200 NOK
- Parking must be booked in advance here
- entrance between 6.30-11.00 a.m.
- Distance to Trolltunga: 20 km
Prices Shuttle Buses
Odda to P2 Skjeggedal
Odda – P2 Skjeggedal (round trip): NOK 250-300
Odda – P2 Skjeggedal (one way): NOK 150
P2 Skjeggedal – Odda (return only): NOK 150
P1 Tyssedal – P2 Skjeggedal
P1 Tyssedal – P2 Skjeggedal (return): NOK 150-200
P1 Tyssedal – P2 Skjeggedal (one way): NOK 100
P2 Skjeggedal – P1 Tyssedal (return only): NOK 100
P2 Skjeggedal – P3 Mågelitopp
P2 Skjeggedal – P3 Mågelitopp (Outward only): NOK 130
P3 Mågelitopp – P2 Skjeggedal (return only): NOK 130
All information about departure times, booking of tickets etc. can be found here on the official site: Shuttle Bus or Taxi to Trolltunga
The Trolltunga Hike
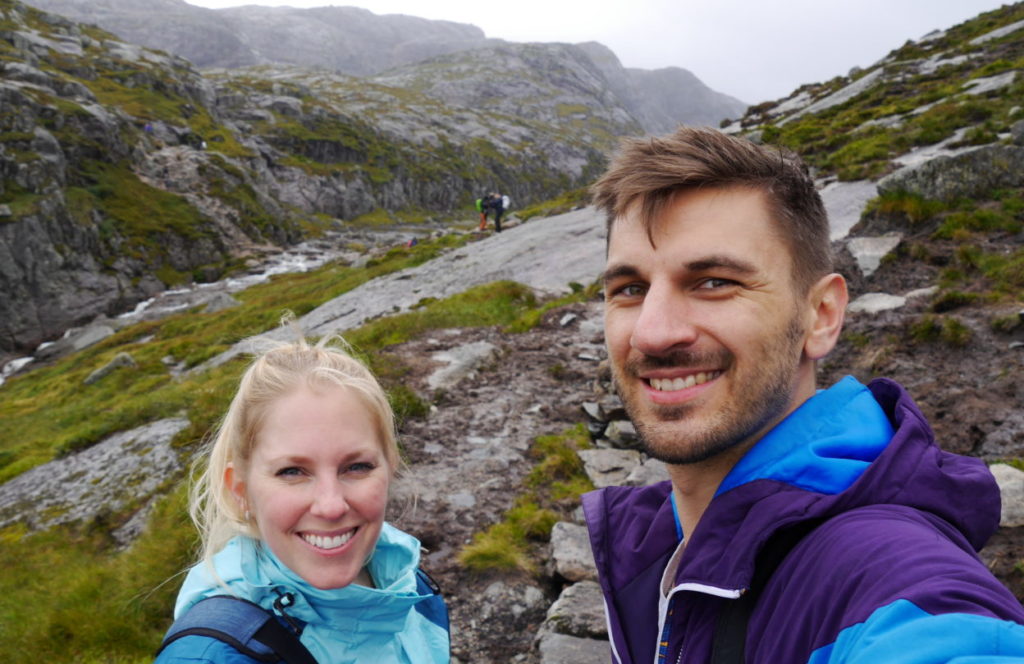
From the upper parking lot the actual hike to the Trolls Tongue finally started. Right from the start we noticed the masses of people that were behind, in front of and sometimes beside us. And they all had the same goal as we did… to see the famous Trolls Tongue.
At times we felt a bit rushed, since we are not the fastest hikers and so quite often let people pass. Again and again you can hear the approaching steps and the sounds of the hiking poles, which drive you on the hike.

Disadvantage of the Trolltunga Hike
In our opinion, this was also the biggest disadvantage of this hike: the many other people. But not only did a lot of hikers walk with us towards Trolltunga, we were also met by a large number of hikers.
So this means that also a lot of hikers spent the night on the mountain. These had probably (like us) thought with only a few others to marvel at the sunrise or sunset on the mountain. With the number of people who came towards us, an overnight stay on the mountain has also be shared with a lot of other people.
Trolltunga Hike: The Hiking Trail
The hike is really hard. The total of 22 km for the way there and back is not easy to walk, even as a normally fit person. Especially at the beginning of the Trolltunga hike there are some meters of altitude to conquer, which made sure that we had to take several breaks on the first meters. After that, the hike itself is quite easy and rather strenuous because of the length.
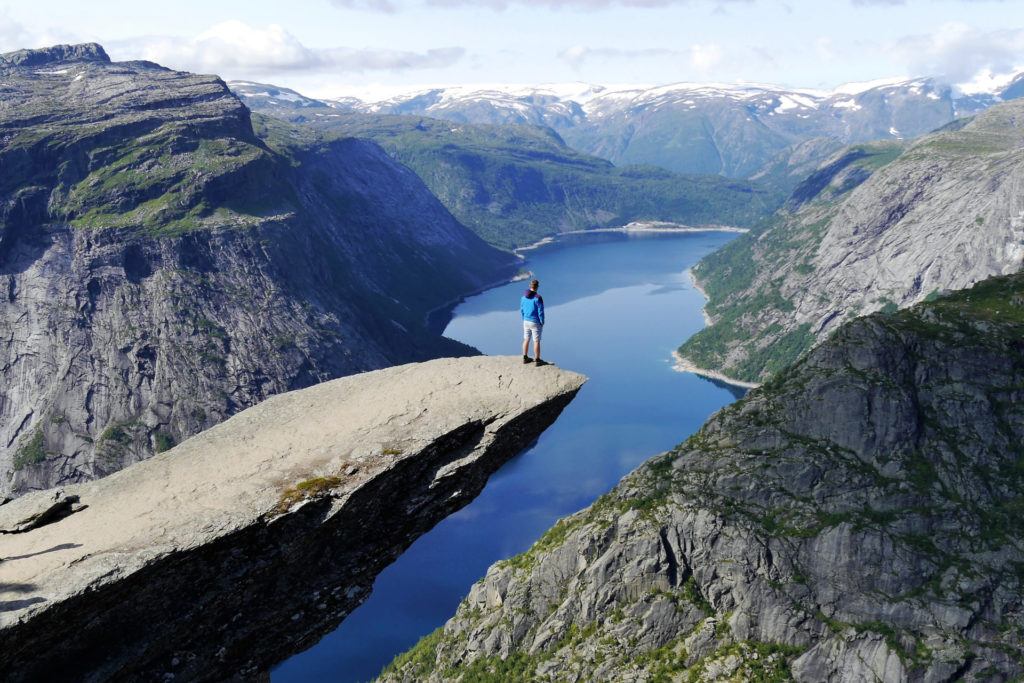
But for this effort you are rewarded. When you stand at the very front of the precipice of the Trolltunga it is already a very special feeling. This feeling, this reward after the hike, but unfortunately you can not enjoy very long. The other tourists and hikers are already waiting and are of course also happy if you do not take too much time with his photo.
Best Time to Hike Trolltunga
This is the biggest tip I can give if you want to queue for a photo at Trolltunga (because you always have to queue): Start running as early as possible!
After a little over 4 hours and 11 km of Trolltunga hiking, we had reached the much anticipated destination at about 11:30 am. The queue to get in line already reached the ladder leading down to the trolls tongue. I dutifully got in line and after about 45 minutes it was my turn and I could have my picture taken by Sabrina.
Flying with a drone is prohibited at Trolltunga, by the way, but of course we saw some flying anyway.
Tip: Couple Pictures
A good tip, by the way, is to find another couple in line behind you with whom you can then make a photo pact. One of them will take pictures of you, individually and together. And when it’s their turn, one of you runs up and shoots the appropriate pictures of them. So no one has to stay for hours with the camera at the photo spot and you don’t have to line up twice as a couple.
After enjoying the atmosphere for a while we started our way back at about 1 pm. At this time the queue was already about three times as long as at the beginning. And on our way back we were still met by many people.
FAQ about Trolltunga
How long does it take to hike Trolltunga?
You should plan 7-12 h for the hike depending on where you start the hike. If you start at the highest parking lot you can do the hike there and back in approx. 7 h.
Is Trolltunga a difficult hike?
The hike itself is not that difficult but it is a long hike that will take at least 7 h.
Can you hike Trolltunga without a guide?
Yes, most people do the hike without a guide. Since the hike is very popular you will meet a lot of people and you can therefore just follow the other people to get to Trolltunga.
Can you reach Trolltunga by car?
No, you can only drive until the parking lots. From the highest parking lot it is approx. 11 km until you reach Trolltunga.
Do you need to book in advance to visit Trolltunga?
You don’t need do book anything for the hike in advance. But if you want to stay in Odda for the hike in the peak season you should book your accommodation in advance. Also it is recommended to start the hike very early in the morning to get a parking lot if you travel by car oder camper van.
What attractions are near Trolltunga?
The closest attraction to Trolltunga is the Buarbreen Glacier. You can do an amazing hike here and get close to the glacier.
Our conclusion to the Trolltunga Hike
In conclusion, we can say that you certainly have to have gone on this hike if you are on vacation in Norway. A photo on the rocky peak belongs in every Norway photo book. Nevertheless, we found the hike scenically much less exciting than expected and also less impressive than, for example, our hike at Knutshoe.
Also there were clearly too many people on the same route as us. Constantly you have the clacking of the hiking poles in the neck. You feel driven and can not really enjoy the actually breathtaking atmosphere. We prefer to be on the routes where we are almost the only people.
More Tips for your Norway Road Trip:
- Our 2 week itinerary through the south of Norway
- Tips for your Norway road trip
- Knutshoe – A better alternative to Besseggen
- Kjeragbolten – Fighting our way through the mist
- Buarbreen – Hiking our first glacier
What was your experience on your Trolltunga hike? Do you have any questions? Feel free to write us a comment.


Hello there, for the new road to the upper parking lot, the website recommends 4×4 vehicle. Do you know if it’s a must or a 2WD sedan can make it? Thank you!
Hi.. We also did it with our normal car which is a 2WD.. It’s sometimes a little slippery but definitely doable.
We also saw a lot of other “normal” cars up there.
So don’t worry! 🙂
Pingback: Buarbreen - Hiking our first glacier - Roadtripsta
Pingback: Knutshøe - a better alternative to Besseggen - Roadtripsta
Pingback: Our 2 week road trip through the south of Norway - Roadtripsta
Pingback: Useful videos and blogs to plan your trip in the Norwegian fjords - Always ready to check-in
Very informative post. Thank you!